This website may contain affiliate links and advertising so that we can provide recipes to you. Read my privacy policy.
Buttermilk waffles are a classic breakfast recipe that is a family favorite! Fluffy and light on the inside with a crispy golden outside…buttermilk just makes everything better!
Breakfast is always better when it’s homemade! A few more amazing recipes to try are these sour cream pancakes, Belgian waffles, and buttermilk pancakes! Serve them up with some scrambled eggs and bacon and you have yourself a knockout breakfast!

Soft and Fluffy Buttermilk Waffles
If you’ve never had buttermilk waffles before, you’re in for a treat. They’re some of my favorites! I find myself always coming back to this recipe because of how soft and flavorful these waffles turn out. This is such a staple recipe that I know you’re going to LOVE!
The acidity of buttermilk makes these waffles perfectly soft and tender. Buttermilk also gives these waffles tangy flavor that is subtle but so delicious! One bite and you’ll be hooked. Good news is, these bad boys are so quick and easy to whip up, using boxed mix will be a thing of the past! Serve these tasty waffles up with all of your favorite syrups and toppings and you have a winning breakfast on your hands!
Is Milk or Buttermilk Better for Making Waffles?
It all depends on preference! I personally prefer buttermilk waffles because they’re softer and more flavorful. You won’t have quite as much flavor if you use milk instead, but you will get a crispy, golden outer layer once they’re cooked. If crisp waffles are your thing, try using this recipe instead!
Ingredients You’ll Need to Make Them
The good news is, this recipe uses so many simple ingredients you won’t have to make a trip to the grocery store! And if you don’t have buttermilk on hand, you can even make that too by mixing a couple of pantry staples together! Find my full recipe here. Note: If you’re looking for measurements, they can all be found in the recipe card below!
- Flour: All-purpose flour works great for giving these waffles a light and airy structure!
- Granulated Sugar: A few tablespoons of sugar will ensure your buttermilk waffles are just sweet enough!
- Baking Powder and Baking Soda: You’ll need both to make sure your waffles turn out fluffy instead of dense.
- Salt: A pinch of salt will enhance the flavor of your entire batch of waffles.
- Buttermilk: The star of the show! You can buy this premade or make your own with just milk and white vinegar! Click here for the full recipe.
- Eggs: Helps bind all of these tasty ingredients together!
- Butter: Adds richness and makes your waffles nice and soft.
- Vanilla Extract: Vanilla makes everything better! Add a little vanilla extract to your batch for sweet, mouthwatering flavor. Use pure vanilla extract for best results.
How to Make Homemade Buttermilk Waffles
It’s just as easy as using boxed mix! The only difference is these waffles taste a million times better and are free of preservatives and artificial flavors! In less than 20 minutes, you’ll have a delicious stack of waffles ready to be devoured.
- Mix Dry Ingredients: In a large bowl, add the flour, sugar, baking powder, baking soda, and salt. Whisk to combine.
- Mix Wet Ingredients: In another medium-sized bowl, add the buttermilk, eggs, butter, and vanilla extract. Whisk together until the eggs are incorporated.
- Combine: Pour the wet egg mixture into the bowl of dry ingredients and whisk just until combined. Be careful not to overmix. You may have a few lumps and that’s ok.
- Preheat Waffle Iron: Allow the batter to rest for 10 minutes. Preheat your waffle iron while your batter rests.
- Cook: The amount of batter you use depends on the size of your waffle iron. For example, for an 8-inch round waffle iron, use about ⅓ cup batter. Cook for 2 to 3 minutes. My waffle iron has a green light that comes on when my waffle is done. Go ahead and cook your waffle to however crisp you like it! Repeat the cooking process until all of your waffles are made.
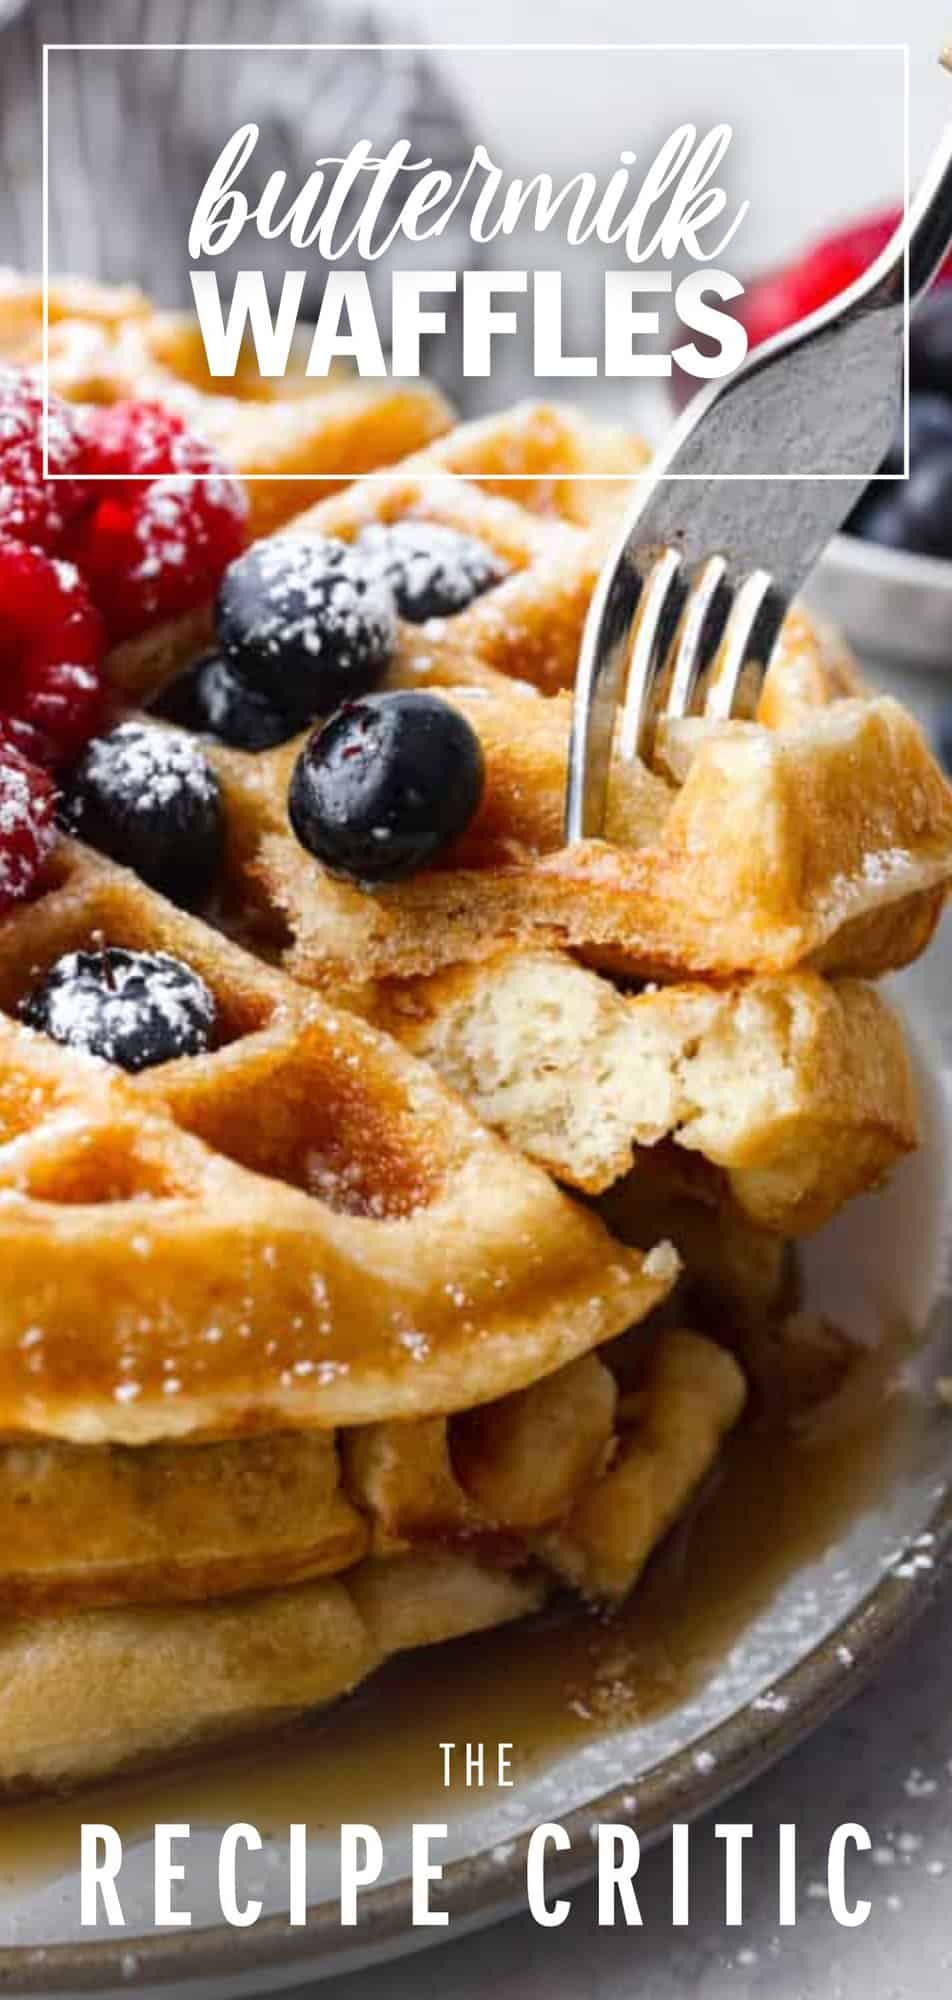
- Serve With Your Favorite Toppings: Top warm waffles with syrup, berries, or powdered sugar and enjoy!

Tips for Making Homemade Waffles
Here are a few tips and tricks to keep in mind as you make your batch of homemade buttermilk waffles. They’ll turn out perfectly every time!
- Measure Flour: Typically, the biggest culprit for dry waffles is that too much flour was added. Be sure to measure and level your flour for the perfect buttermilk to flour ratio.
- Don’t Overmix: I know, I know, it’s tempting to want to mix your batter until it’s completely smooth. But in doing so, you may be causing gluten to develop which will leave you with hard and dense waffles. Only mix until the ingredients are incorporated. It’s okay if there are a few lumps left.
- Keep Your Waffle Maker Closed: If you open your waffle maker before the cooking time is done, this releases all of the hot air needed to cook your waffle thoroughly.
- Underfill: It’s better to underfill your waffle maker than add too much batter and make a mess. You need less batter than you’d think, as it will expand as it cooks.
Delicious Toppings
What would waffles be without delicious toppings? Elevate your breakfast with these to-die-for homemade toppings! They’re made with simple ingredients and will take your breakfast to the next level. Fresh berries and a dusting of powdered sugar is always a good idea, too!

Storing Leftovers
Homemade buttermilk waffles make great leftovers! Simply heat them up and add your favorite toppings for a quick and easy breakfast or midday treat!
- In the Refrigerator: Your buttermilk waffles will last for 4-5 days in an airtight container.
- Reheating: To quickly reheat your homemade waffles, pop them in the toaster or microwave for 15-30 second intervals or air fryer for 1-2 minutes at 350 degrees Fahrenheit.

-
In a large bowl, add the flour, sugar, baking powder, baking soda, and salt. Whisk to combine.
-
In another medium-sized bowl, add the buttermilk, eggs, butter, and vanilla extract. Whisk together until the eggs are incorporated.
-
Pour the wet egg mixture into the bowl of dry ingredients and whisk just until combined. Be careful not to overmix. You may have a few lumps and that’s ok.
-
Allow the batter to rest for 10 minutes. Preheat your waffle iron while your batter rests.
-
The amount of batter you use depends on the size of your waffle iron. For example, for an 8-inch round waffle iron, use about ⅓ cup batter. Cook for 2 to 3 minutes. My waffle iron has a green light that comes on when my waffle is done. Go ahead and cook your waffle to however crisp you like it! Repeat the cooking process until all of your waffles are made.
-
Top warm waffles with syrup, berries, or powdered sugar and enjoy!
Serves: 6
All nutritional information is based on third party calculations and is only an estimate. Each recipe and nutritional value will vary depending on the brands you use, measuring methods and portion sizes per household.